


Key Features
- Consistent Tension: Eliminates belt slip and noise.
- Vibration Damping: Reduces belt vibrations from engine firing.
- System Tuning: Ensures proper accessory drive function.
- Alignment Maintenance: Keeps the belt properly aligned.
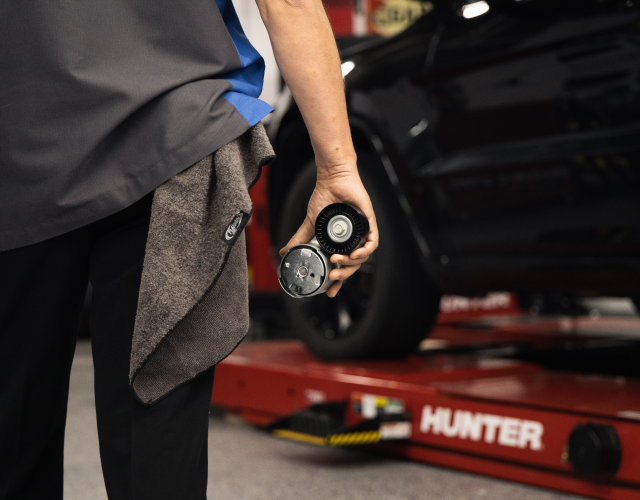
Litens Accessory Drive Tensioners are engineered to maintain constant tension on the belt so it doesn’t slip and make noise. They dampen the vibrations caused by engine firings, contributing to a smoother driving experience.
These tensioners automatically adjust for belt stretch and wear, ensuring the belt is always correctly aligned and functioning effectively.
Unlike flat wire tensioners, Litens uses a robust torsion spring design, enhancing alignment and longevity. This means there’s no need for additional friction-reducing components, which are often necessary in other tensioners.
The Litens Difference
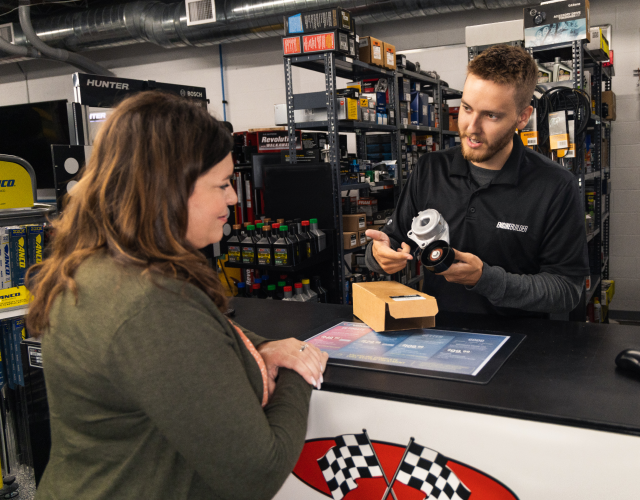
Litens’ Accessory Drive Tensioners are uniquely designed for each specific engine and belt configuration, making them highly effective and reliable.
They provide constant, engineered tension and dampening, which maintains the correct belt tension and minimizes system vibrations.
This automatic tensioning eliminates the need for manual belt adjustments, prevents belt slip, and optimizes belt life.
Additionally, these tensioners can indicate the correct belt length and warn of excessive belt stretch, suggesting when a replacement might be necessary